> Calendly developer docs. For page Markdown, append .md to any URL.
> Index: https://developer.calendly.com/llms.txt
> API catalog: https://developer.calendly.com/.well-known/api-catalog
> OpenAPI: https://developer.calendly.com/openapi/calendly-api.yaml
> OAuth authorization server: https://calendly.com/.well-known/oauth-authorization-server
> MCP protected resource: https://mcp.calendly.com/.well-known/oauth-protected-resource
> Scheduling MCP endpoint: https://mcp.calendly.com
> Docs search MCP: https://developer.calendly.com/_mcp/server
# Getting Started with Embeds
[See examples of how Calendly can let customers schedule directly from your site.](https://calendly-embed.com/adding-calendly-to-your-site)
## Using the developer embed code
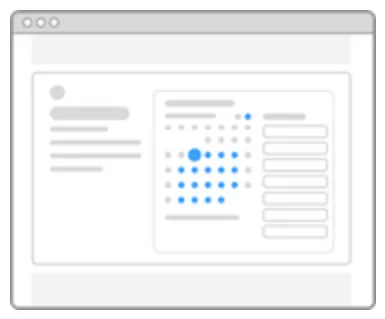
By making a JavaScript call, you can create an inline embed on demand. This allows you to delay the appearance of the embed until specific actions are completed, or until information is collected for pre-filling the booking form.
Create a `div` on your site with a specific ID, and include the Calendly JavaScript file:
```html
```
Then initialize the embed, replacing the sample text with your div ID and scheduling link:
```javascript
Calendly.initInlineWidget({
"url": 'https://calendly.com/YOURLINK',
"parentElement": document.getElementById('SAMPLEdivID'),
"prefill": {},
"utm": {}
});
```
To load the inline embed automatically while still pre-filling questions or setting UTM parameters:
```html
```
## Embed Options
**Inline**
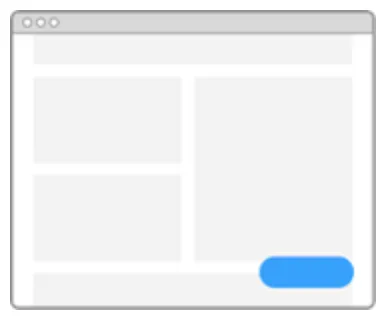
**Popup Widget**
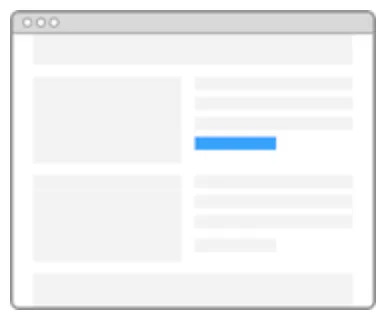
**Popup Text**
## Add your scheduling page to your website
To embed a scheduling page, visit the **Event Types** tab on your [Home page](https://calendly.com/event_types/user/me). Locate the page you would like to embed, click the gear icon, select **Add to Website**, then choose your embed type and adjust the appearance.
## Add an event type page to your website
Control the type of meeting your site visitors schedule by embedding a specific event type page. From the **Event Types** tab on your [Home page](https://calendly.com/event_types/user/me), locate your preferred event type, select **Add to Website** from the gear icon menu, and customize it to suit your web page.